
How to Find the Right Engineering Team Structure
How to Find the Right Engineering Team Structure
A great engineering team structure may not guarantee success — but the wrong one will almost certainly lead to failure.
10 min read
Keep Moving Forward
Subscribe for exclusive content.
By subscribing you agree to our Privacy Policy and provide consent to receive updates from our company.

Scale
Ready to grow your team? Get real-world tips on scaling fast without breaking a sweat.

Taming the Beast: How to Reduce Technical Debt
Tight deadlines, quick fixes, and constant pressure to ship something — we’ve all been there. But those compromises add up until, suddenly, you’re looking at an even bigger problem to solve: reducing technical debt.
10 min read

Ideal Scrum Team Size: What's Recommended for Agile Success
6 min read

Software Development Consulting: Expert Solutions for Growth
8 min read

Sprint Planning for Remote Teams
6 min read

Podcast, MediaPublishing,
CJ's Marin Sarbulescu on Scaling Tech Teams in the Age of AI
22 min read
Innovation
Want to stay ahead? Peek into the latest tech breakthroughs and fresh ideas pushing the industry forward.

AI, Risk,
Build vs Buy: How GenAI Changes the Equation
Your feature backlog isn’t shrinking. Your stakeholders still want everything yesterday. And you’re still stuck answering the same question over and over again: Should we build this or buy it?
11 min read

Gaming, AI,
Will AI Replace Game Developers?
11 min read

Gaming, AI,
Outsourcing Software Development for Startups: A Practical Guide
10 min read

Podcast,
Amanda Stapleton: Get Out of Your Comfort Zone to Innovate
26 min read

Podcast, Fintech,
Bill.com’s Subbu Allamaraju on the Power of Choosing Yourself
23 min read
Risk
Facing tough calls? Get smart, straightforward advice on making high-stakes decisions like a pro.
AI,
Build vs Buy: How GenAI Changes the Equation
Your feature backlog isn’t shrinking. Your stakeholders still want everything yesterday. And you’re still stuck answering the same question over and over again: Should we build this or buy it?
11 min read

Beyond Bug Hunts: A Guide to Software Testing Methodologies
11 min read
AI,
Build vs Buy: How GenAI Changes the Equation
11 min read

What Goes Into Developer Incentive Programs?
8 min read

Ethical Issues in Software Development
8 min read
Culture
Ready to grow your team? Here’s how to foster strong connections and next-level productivity.

Risk,
How to Overcome Time Zone Obstacles in a Remote Team
Companies hire remotely in part because the talent pool is much larger. Instead of finding the most talented applicant within commuting distance of your office, you can search for the most talented applicant anywhere in the world. This means that, with the right hiring policies, you can create a ...
3 min read

Podcast,
How Miros Milenkovic Builds Aligned, Empathetic Teams for Web3
23 min read

Remote Work Has Grown Up: Why It’s Better Than Ever
4 min read

Podcast, MediaPublishing,
Shobana Radhakrishnan on Leadership, Consumer-Centric Experiences
25 min read
Podcast, MediaPublishing,
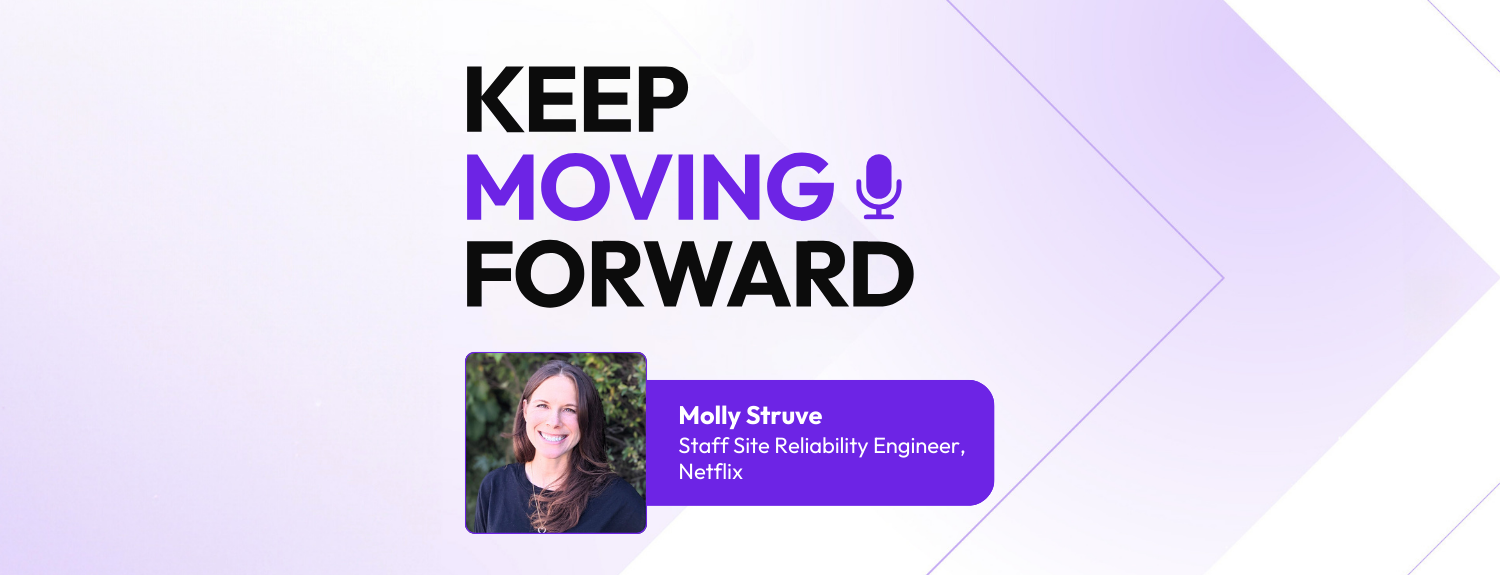
Netflix’s Molly Struve on a Culture of Continuous Learning
23 min read
Professional Development
Ready for that next move? Career tips for tech professionals at every level.

About X-Team, What the Code,
Laura Grassi on Building a More Human Tech Culture
For Laura Grassi, tech and creativity go hand in hand. As a senior software engineer at X-Team and a well-known content creator, she’s built her career at the intersection of code, gaming, and community.
33 min read
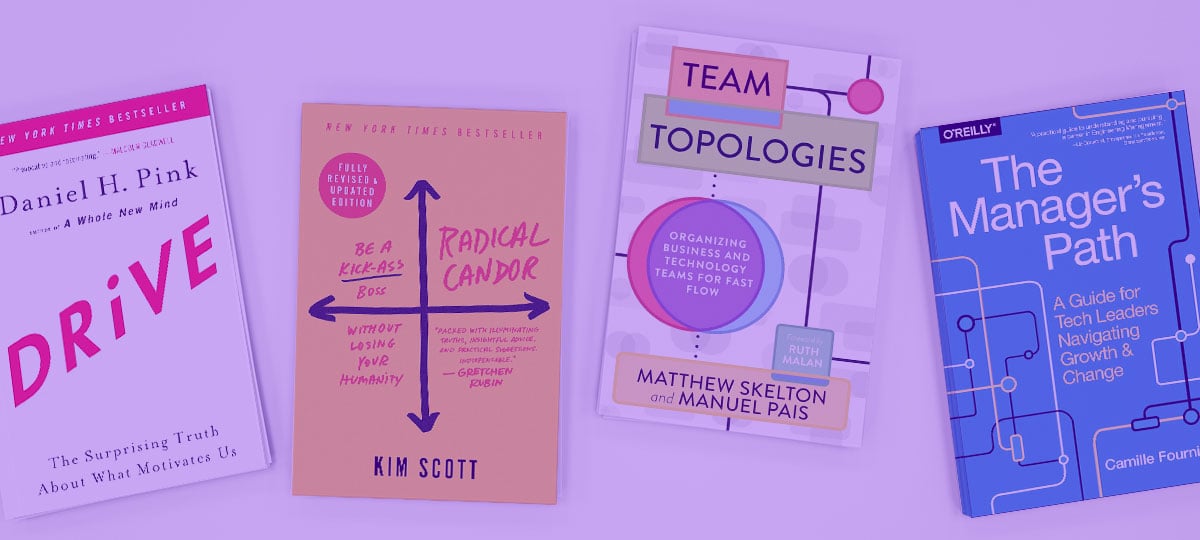
12 Best Books for Software Engineering Managers (2025 Edition)
8 min read

15 Best Podcasts for Developers
7 min read

Code,
Principles of Clean Code Every Developer Should Master
6 min read

10 Ways to Stay Motivated as a Remote Worker
5 min read
About X-Team
Curious about X-Team? See what drives us, what makes us different, and why we love what we do.

How Henrique Paula Plans the Perfect X-Outpost
Imagine working from a sunlit terrace in Barcelona, exploring ancient temples in Kyoto, or sharing cultural gifts with colleagues from around the globe—all while keeping up with your day job. These aren't just daydreams for X-Teamers; they are real experiences made possible by the X-Outposts.
3 min read

What the Code,
Daniel Reis on Creating Real-Time Learning Experiences That Stick
30 min read

What the Code,
Caio Borghi: Building Better Code by Staying Curious and Giving Back
27 min read

What the Code,
Karol Attekita on Building Software and Inspiring Future Engineers
30 min read
What the Code,
Laura Grassi on Building a More Human Tech Culture
33 min read
podcast
Amanda Stapleton: Get Out of Your Comfort Zone to Innovate
Aerospace and defense companies can’t afford to make mistakes. So how can their engineering teams innovate and grow while meeting strict safety standards? For Amanda Stapleton, it starts by leading with empathy, welcoming curiosity, and encouraging trial and error in non-critical settings. At the ...
26 min read
Bill.com’s Subbu Allamaraju on the Power of Choosing Yourself
What if the next phase of your life isn’t waiting on a promotion, a plan, or anyone else’s approval—but on a decision you haven’t made yet? In this episode of Keep Moving Forward, we talked with Subbu Allamaraju, vice president of engineering at Bill.com, about what it really means to evolve ...
23 min read

Become a Leader by Thinking Like One with Wix’s Nir Orman
Leadership doesn’t begin with a promotion. It begins with mindset. For Nir Orman, Director of E-commerce Engineering at Wix, leadership is about taking responsibility before it’s handed to you. From her start as a simulator instructor in the Israeli Air Force to leading distributed engineering ...
23 min read
How Miros Milenkovic Builds Aligned, Empathetic Teams for Web3
Tech leadership today isn’t just about processes or shipping product. For Miros Milenkovic, Project Manager at Privado ID, leadership means balancing the philosophical ideals of decentralized identity with the practical needs of building for real people. From his early days in front-end development ...
23 min read