The AI Skills Gap Is Bigger Than Your Hiring Plan
The organizations moving past the AI pilot stage share a few key things in common. Find out what they are.
10 min read
Keep Moving Forward
Subscribe for exclusive content.
By subscribing you agree to our Privacy Policy and provide consent to receive updates from our company.
Recent stories

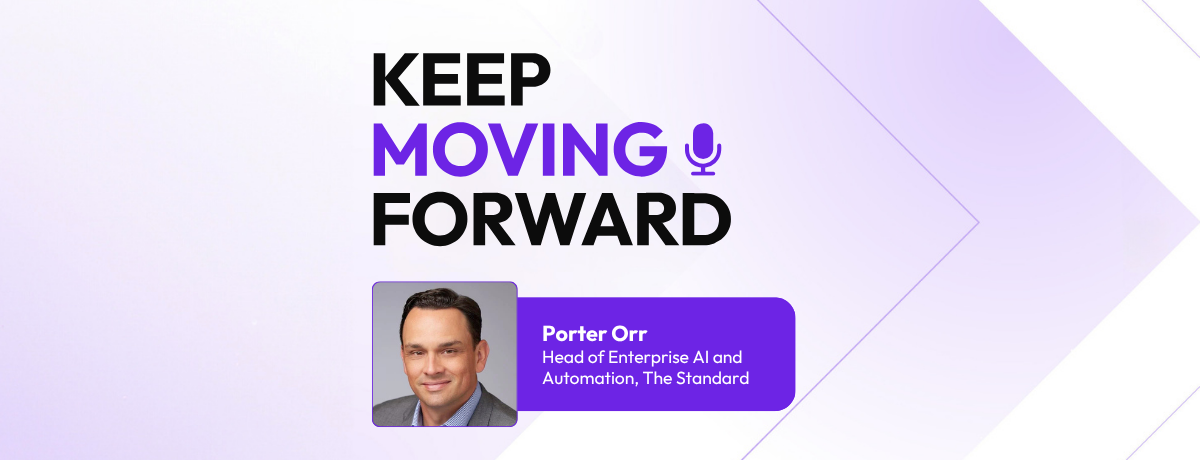
AI, Podcast, Professional Services
The Enterprise AI Adoption Signal You Won't Find in a Dashboard
Most organizations track enterprise AI adoption by counting the numbers: logins, usage rates, automation percentages, hours saved. Porter Orr, Head of Enterprise AI at workplace benefits provider The Standard, watches for something else entirely: what they call the tool.
30 min read
Most popular

Scale
Ready to grow your team? Get real-world tips on scaling fast without breaking a sweat.

In-House vs Outsourcing Software Development
Your backlog is growing. Deadlines are slipping. Competitors are shipping faster. When pressure builds, the in-house vs outsourcing software development decision becomes critical to how fast—and how well—you move. Get it right and you unlock the flexibility to scale fast without compromising ...
9 min read

New Tips: How to Hire the Best Software Developers
12 min read

Outsourcing Software Development to a Dedicated Team: Helpful Tips
11 min read

How to Hire Offshore Software Developers the Right Way
13 min read

Outsourcing Custom Software Development: Best Practices
9 min read
Innovation
Want to stay ahead? Peek into the latest tech breakthroughs and fresh ideas pushing the industry forward.

Gaming, AI, Risk, unity,
Will AI Replace Game Developers?
For developer teams and leaders, AI in game development is both a breakthrough and a pressure test. It promises faster workflows and leaner pipelines but also raises tough questions about roles, skills, and creative ownership. It’s already becoming a core part of how games are made, from tools that ...
7 min read

AI,
Top AI Staff Augmentation Companies in 2026
14 min read

AI,
The AI Skills Gap Is Bigger Than Your Hiring Plan
10 min read

AI,
The Impact of AI on Software Development: Beyond the Hype
8 min read

AI,
Rise of Digital Twins: Smarter Systems, Real-World Impact
8 min read
Risk
Facing tough calls? Get smart, straightforward advice on making high-stakes decisions like a pro.

AI,
Build vs Buy: How GenAI Changes the Equation
Your feature backlog isn’t shrinking. Your stakeholders still want everything yesterday. And you’re still stuck answering the same question over and over again: Should we build this or buy it?
9 min read

Podcast,
Why Better AI Governance Is Your Fastest Path to Scale
21 min read

Podcast,
When Experimentation Can't Outrun Accountability
29 min read

Risks of Outsourcing Development for Companies Explained
8 min read

Software Outsourcing: Common Challenges Solved | X-Team
8 min read
Culture
Ready to grow your team? Here’s how to foster strong connections and next-level productivity.

Remote Work Has Grown Up: Why It’s Better Than Ever
When the pandemic hit in 2020, remote work was thrust upon the world overnight. What had been an emerging trend became an emergency response. Dining rooms became offices, parents balanced video calls with home-schooling, and daily life blurred into a constant background hum of stress and ...
4 min read

Podcast,
Arnaud Grunwald on AI and Performance Management's Future
25 min read

Podcast,
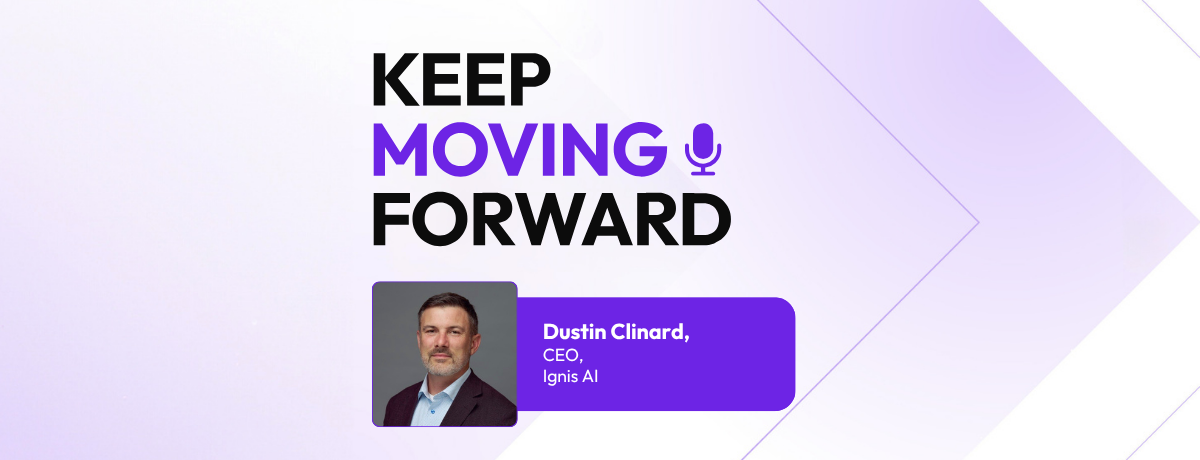
AI Literacy: Why Confidence ≠ Capability in Skill Assessment
23 min read

Podcast,
Rethinking Hybrid Work: Agile and Intentional Workspaces
25 min read

Podcast,
How to Make Communication Skills Training Stick
23 min read
Professional Development
Ready for that next move? Career tips for tech professionals at every level.

About X-Team, What the Code,
Laura Grassi on Building a More Human Tech Culture
For Laura Grassi, tech and creativity go hand in hand. As a senior software engineer at X-Team and a well-known content creator, she’s built her career at the intersection of code, gaming, and community.
33 min read

12 Best Books for Software Engineering Managers (2025 Edition)
8 min read

15 Best Podcasts for Developers
7 min read

Code,
Principles of Clean Code Every Developer Should Master
6 min read

10 Ways to Stay Motivated as a Remote Worker
5 min read
About X-Team
Curious about X-Team? See what drives us, what makes us different, and why we love what we do.

Henrique Paula: The Art of Planning an X-Outpost | X-Team
Imagine working from a sunlit terrace in Barcelona, exploring ancient temples in Kyoto, or sharing cultural gifts with colleagues from around the globe—all while keeping up with your day job. These aren't just daydreams for X-Teamers; they are real experiences made possible by the X-Outposts.
3 min read

What the Code,
Andrey Lipattsev on Rethinking YouTube Ads With Creativity
12 min read

What the Code,
Bruno Germano Builds Human-Centered Software by Listening First
26 min read

What the Code,
Daniel Reis: Making Real-Time Learning Stick | X-Team
30 min read

What the Code,
Caio Borghi: Better Code Through Curiosity and Giving Back
27 min read
podcast
The Enterprise AI Adoption Signal You Won't Find in a Dashboard
Most organizations track enterprise AI adoption by counting the numbers: logins, usage rates, automation percentages, hours saved. Porter Orr, Head of Enterprise AI at workplace benefits provider The Standard, watches for something else entirely: what they call the tool.
30 min read
Why Better AI Governance Is Your Fastest Path to Scale
Most organizations treat AI governance like a speed bump. Something to get through before the real work starts.
21 min read

Arnaud Grunwald on AI and Performance Management's Future
Most organizations collect more feedback than they know what to do with. Surveys, pulse checks, one-on-ones, performance reviews — the data exists. What rarely follows is evidence that any of it changed anything. Arnaud Grunwald has spent the better part of a decade working on that gap, and he has ...
25 min read
AI Literacy: Why Confidence ≠ Capability in Skill Assessment
Most people think they have a pretty good idea of what thay are capable of at work. What Dustin Clinard has found, repeatedly, is that they don’t. The data shows people tend to overestimate their communication skills and underestimate their analytical thinking. The leaders who are most confident ...
23 min read