Big moves by Microsoft in 2018 have seen a strong push toward mixed and augmented reality (Hololens) and the recent acquisition of GitHub to supplement Microsoft's extant Azure cloud-offerings (which now includes Blockchain as a Service - paralleling IBM's own Blockchain Platform - among other core offerings).
Reactions have been largely positive with some questions remaining about what that means for the future of GitHub which is presently the de facto open-source code-management and code-sharing platform. I, for one, think it's a great sign of things to come.
Regardless, it's wise to maintain at least one backup of the code management solution you choose. That way, downtime at one service won't prevent you from accessing the code you need on the other, and you have backup options in case you ever need to retrieve older copies.
That's one of the great things about software, companies can compete but competition isn't necessarily zero-sum. We can use both Google+ and Facebook, GitHub and GitLab, etc.
Hosted Services
Most companies use some kind of Git-based code-management service to track issues, handle versioning, secure repositories, and commit code. If you're like me, you remember the pre-Git way-back-when (in the age of Subversion)!
Migrating from GitHub can be a significant task given the often sizeable repositories, a sizeable number of sizeable repositories, and the permissions accompanying all of them.
It is therefore, quite beneficial to stay in the Git ecosystem. Three great alternatives or additional hosting options to GitHub include:
- Microsoft's Team Foundation
- Atlassian's BitBucket
- Open-source GitLab
- Enterprise GitHub (or the GitHub alternative to GitHub)
GitLab on Raspberry Pi 3 B+
I'm impressed with the latest incarnation of the Raspberry Pi 3 B+ equipped with:
1. Broadcom BCM2837B0, Cortex-A53 (ARMv8) 64-bit SoC @ 1.4GHz
2. 1GB LPDDR2 SDRAM
3. 2.4GHz and 5GHz IEEE 802.11.b/g/n/ac wireless LAN, Bluetooth 4.2, BLE
4. Gigabit Ethernet over USB 2.0 (maximum throughput 300 Mbps)
5. Full-size HDMI
6. 4 USB 2.0 ports
7. Micro SD port for loading your operating system and storing data

And more!
Flashing the OS
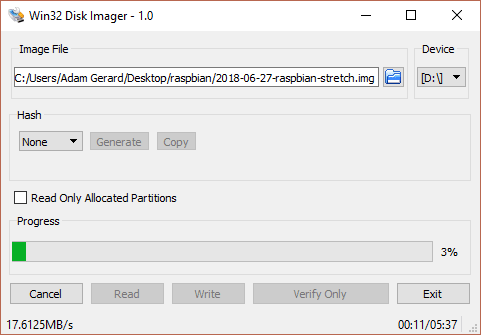
After grabbing a new Raspberry Pi (around $65 on Amazon) we can run the latest Debian spinoff optimized specifically for the Pi - Raspbian Stretch 4.14 available for download here. We can then flash an SD card using a tool like Win 32 Disk Imager.
This can be a lengthy process so it might be wise to run the task as a background process:

Installation
Afterwards, we can run the following Bash script to get the newest version of GitLab Community Edition set up:
#!/usr/bin/env bash

# Install GitLab
echo "Updating OS"
sudo apt-get update
sudo apt-get install curl openssh-server ca-certificates postfix

curl -sS https://packages.gitlab.com/install/repositories/gitlab/gitlab-ce/script.deb.sh | sudo bash
sudo apt-get install gitlab-ce

sudo nano /etc/gitlab/gitlab.rb
# external_url 'http://localhost:9999'
# nginx['listen_port'] = 9999
# nginx['listen_https'] = false
# unicorn['port'] = 7777

sudo gitlab-ctl reconfigure

# Start all GitLab components
sudo gitlab-ctl start
A few other commands worth mentioning include stopping all services:
# Stop all GitLab components
sudo gitlab-ctl stop
Restarting services:
# Restart all GitLab components
sudo gitlab-ctl restart
Tailing your GitLab logs:
# Log
sudo gitlab-ctl tail
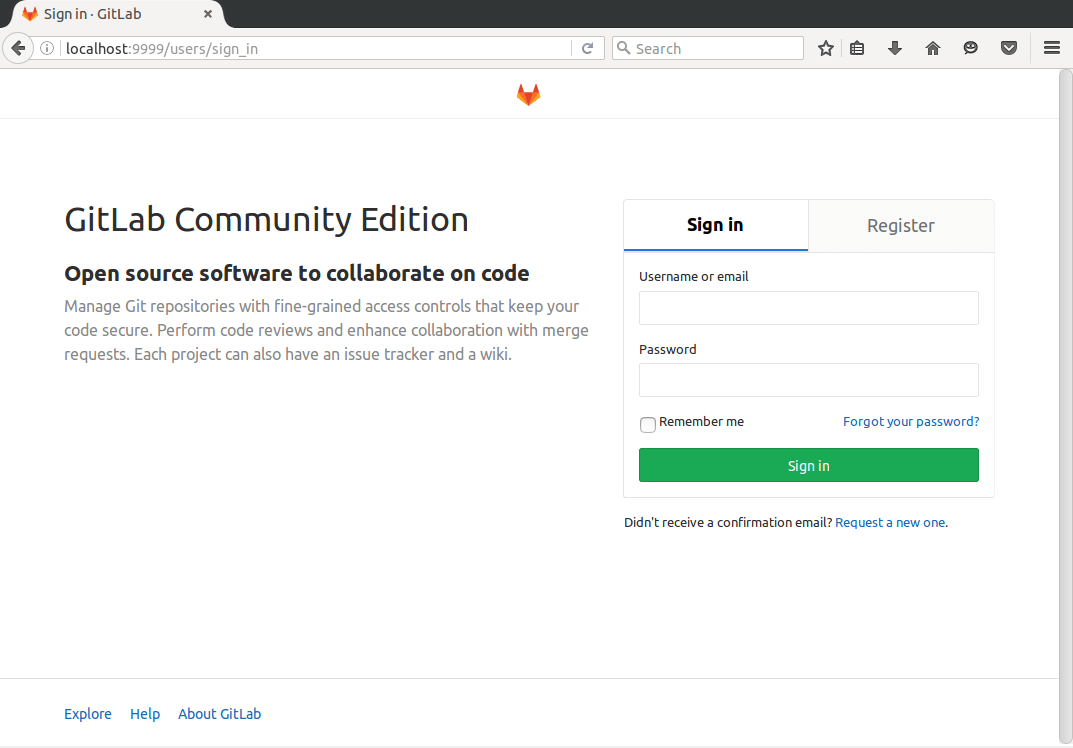
Once you spin up your instance, you should see the login splash page:

Migrating
One of the great features provided by GitLab is the ability to easily import projects from other Git services. It's also a credit to GitHub for providing such a great API!
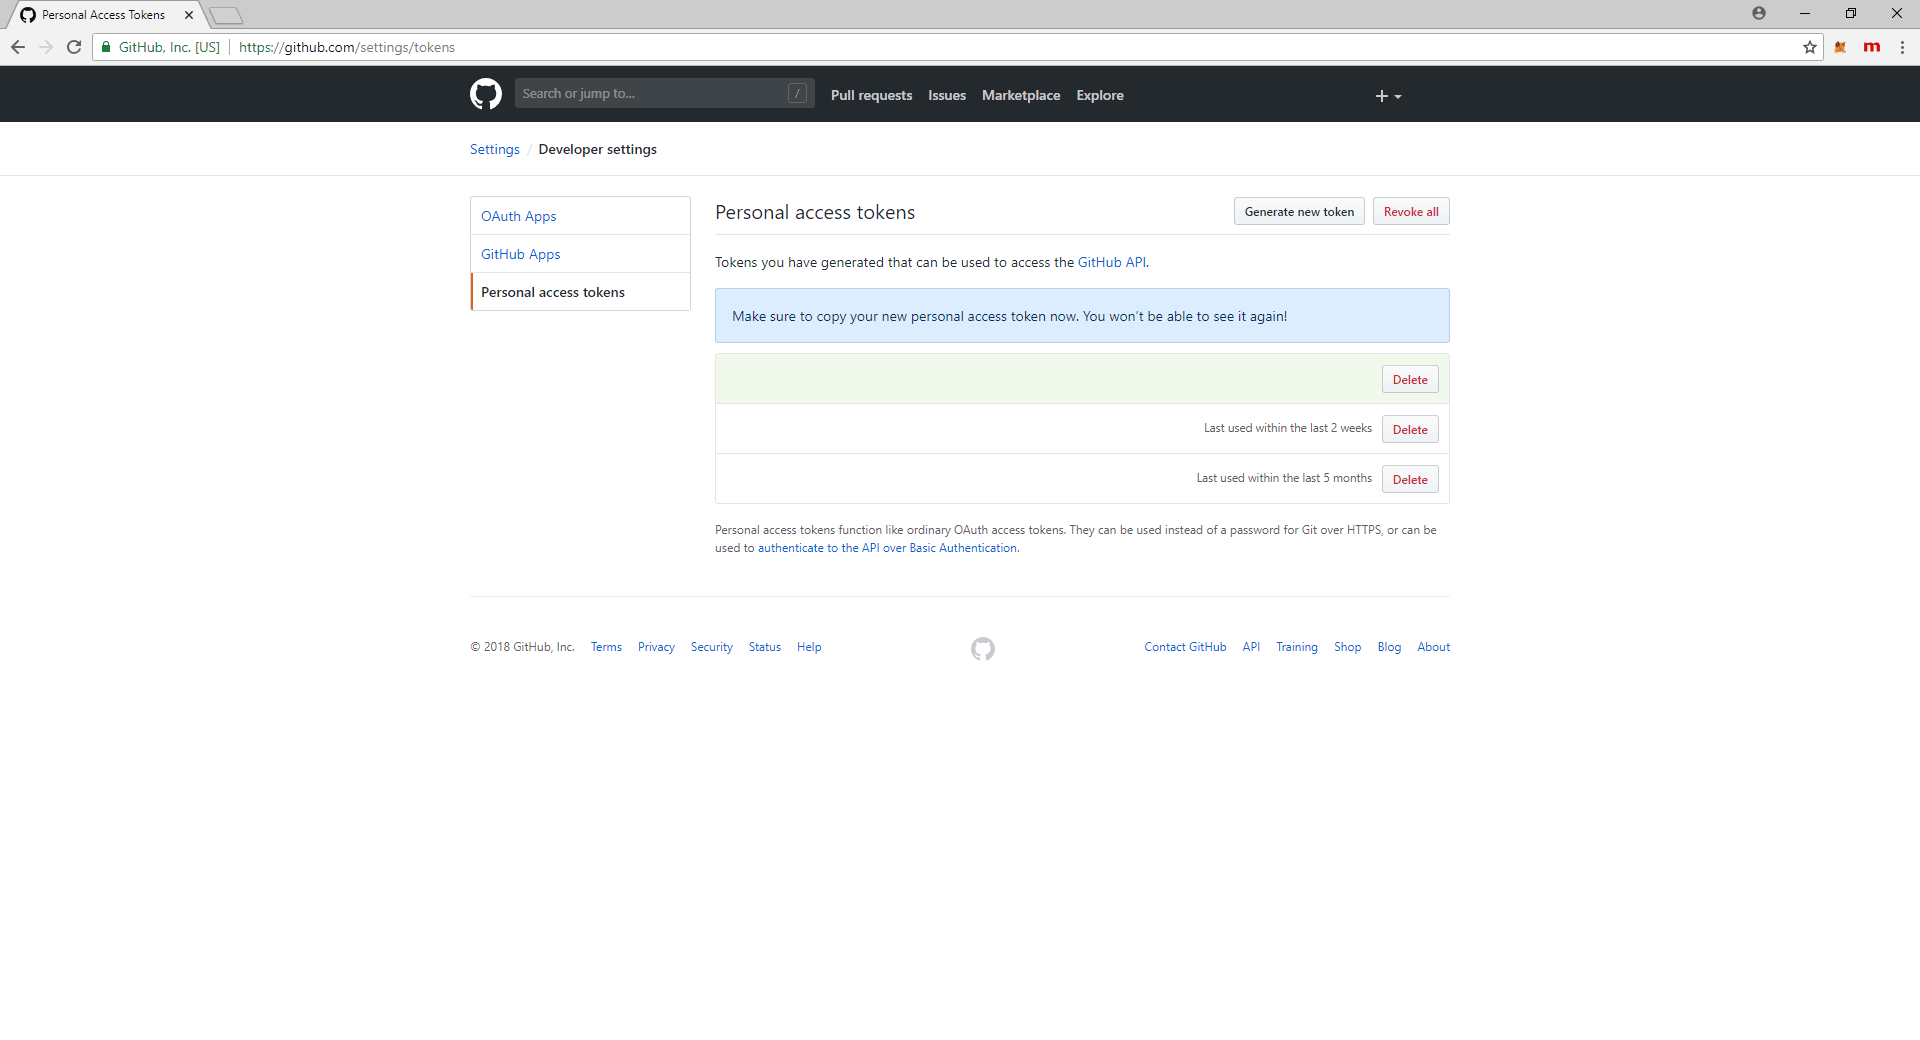
We can grant greater or lesser degrees of access to our repositories using the Personal Access Tokens tab in GitHub's Settings area:

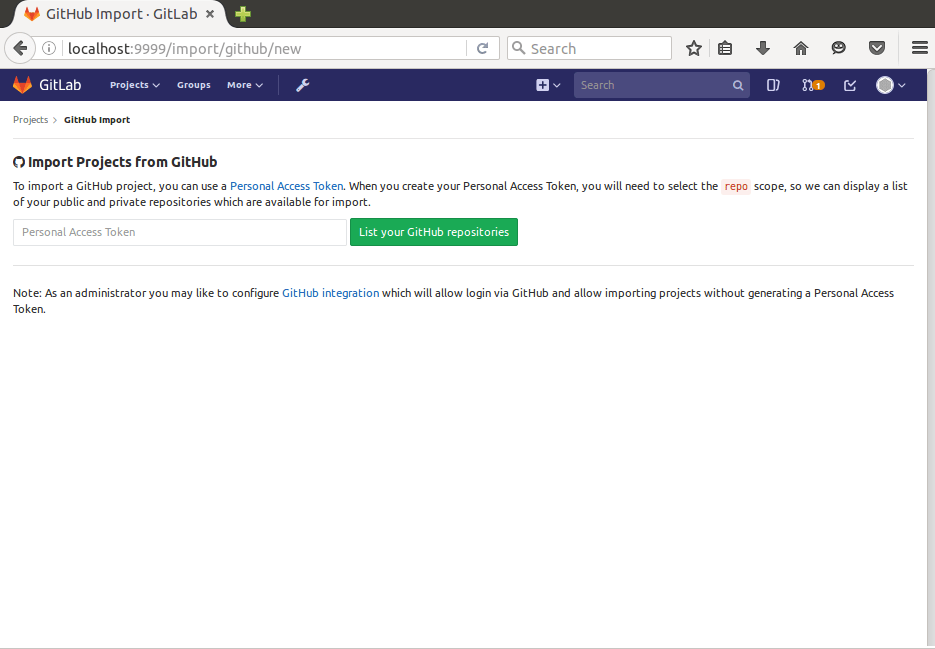
Which we can then use to import our repositories using the New Project button in GitLab:

Now you can configure your Git repo to pull and push to both!
Conclusion
That's it! A quick walk-through to improve your code-management. Hopefully, it will help you avoid vendor lock-in, improve redundancy and backups, and minimize downtime or loss!
See you next time, code-slinger!
TABLE OF CONTENTS


