Containerization. People are raving about it. But how do we get started? These Dockerfile things seem so foreign, and besides, how do we get different containers for our different services? After all, if we shoved them into one, it's kind of defeating the purpose.
Fear not! It's easier than you think. We'll use a basic PHP environment to go through the process.
Planning Our Starting Containers
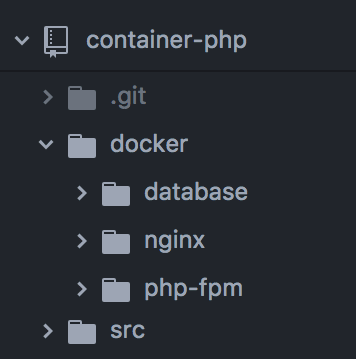
One thing that makes Docker so powerful is the ability to define different containers for different tasks. This allows us to organize our files logically. We're going to start with the very basics needed to get our system up and running. For a PHP application, that's a server (we'll use nginx), the PHP process manager (php-fpm), and a database (MariaDB). If we need to grow in the future, we can follow the same process and have a new node in no time. We'll also create a src folder for our PHP files.
Here's what our starting folder structure looks like:
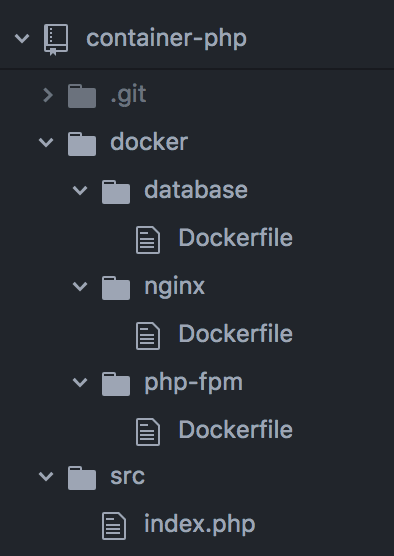
Then, we'll add Dockerfiles to each of our service folders, and an index.php file in our src, which will display once everything's working (don't worry about the contents of anything just yet, we'll get to that shortly):
Let's set up our PHP file with something basic that proves PHP is working properly. "Hello, World!" is always a good option.
<?php $value = "World"; ?> <html> <body> <h1>Hello, <?= $value ?>!</h1> </body> </html> Now, to the fun stuff!
Starting Our Dockerfiles
One of the great things about Docker-Compose is that it simplifies the contents of our Dockerfiles, especially when combined with pre-built images from the maintainers of each service. As a result, we need only reference those upstream images and tell our container to run and what port to expose.
To illustrate, here's the Dockerfile for our database service:
FROM mariadb:latest

CMD ["mysqld"]

EXPOSE 3306
FROM tells Docker what image to use, in the form of repository:version.
CMD tells the container what command to run once it starts. In this case, it should run the command to start the database server.
EXPOSE tells the container what ports to expose to Docker's internal network. Other containers can use this information to connect to it.
That's all you need! If you run docker up inside the database folder, Docker would be able to start this service.
If all we're doing is referencing the upstream image, Docker-Compose lets us bypass the Dockerfile entirely by using the image line! For the sake of this lesson, we'll stick with Dockerfiles.
Lean Containers
Ideally, these images will be minimalistic. We don't need fully-featured operating systems. That's where Alpine comes in. It's a Linux distribution designed to be small and run in RAM. Our nginx and php-fpm service containers will run Alpine builds from their respective project maintainers.
Our remaining Dockerfiles look like so:
# nginx
FROM nginx:alpine

CMD ["nginx"]

EXPOSE 80 443


# php-fpm
FROM php:fpm-alpine

CMD ["php-fpm"]

EXPOSE 9000
The Docker-Compose File
To efficiently run a cluster of Docker containers, we need a way to orchestrate them. Enter docker-compose.yml.
docker-compose.yml is kind of like an outline of our containers and their requirements. Like any outline, it starts with headings:
version: '3'

services:
  php-fpm:

  nginx:

  database:
The headings under services correspond to the folders we created. This tells Docker that we're creating four containers (referred to as "services" by Docker), named accordingly. We'll be filling in each of these sections as we set everything up.
The Build Context
Next, we need to tell Docker where to find the Dockerfiles for our services. We do this by adding a context entry, with a relative path to the corresponding folder.
services:
  database:
    build:
      context: ./database
Our First Up
At this point, we can technically run docker-compose up and Docker will happily spin up our services. So what happens when we do?

Well... Things start, but our database service stops because we haven't set up a database and user. Let's start with that.
The Database
Thankfully, the solution to this problem is as straightforward as the error we're getting. The database server is asking us for a root password and a database. So let's give them to it.
The environment section is where we can pass variables to Docker. In this case, a database name, user, and root password, which Docker will use to create whatever doesn't already exist. Now, our database section looks like this:
database:
    build:
      context: ./database
    environment:
      - MYSQL_DATABASE=mydb
      - MYSQL_USER=myuser
      - MYSQL_PASSWORD=secret
      - MYSQL_ROOT_PASSWORD=docker
Let's try again.
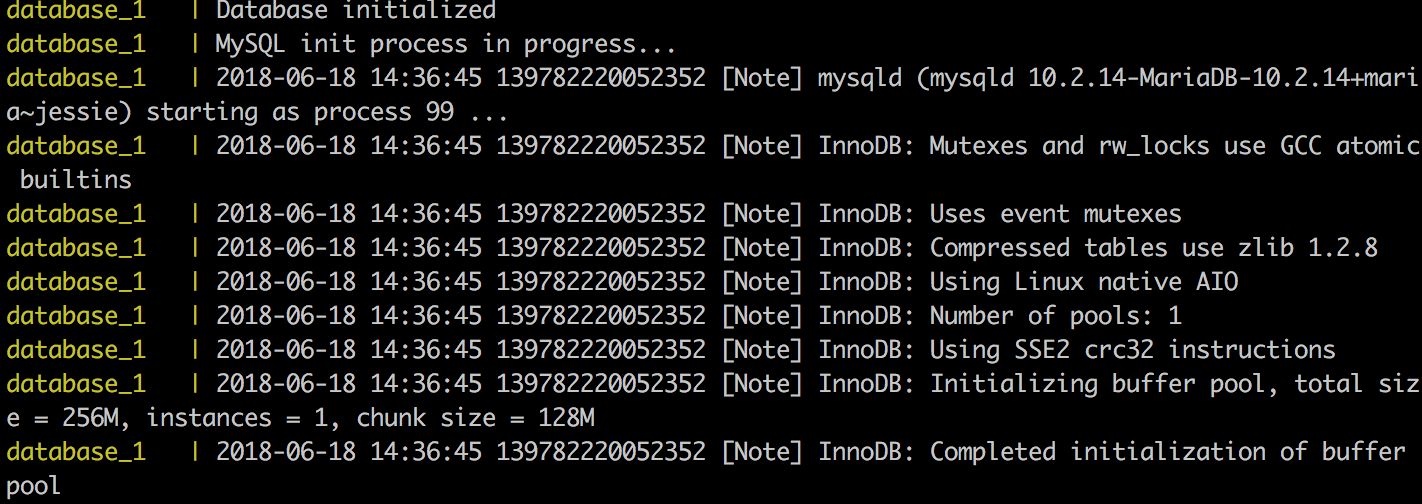
That's better! (It's okay if the output seems cryptic. What matters is that there are no errors or exit codes like what we saw earlier.)
The Server
In addition to the database service exiting on our first start, we also had this lovely line:
docker_nginx_1 exited with code 0
Code 0? Isn't that a success code? Yes. Yes, it is, but Nginx isn't supposed to exit. Something's not right, but since it didn't exit with a fatal error, we've got no leads this time. We're going to assume it's simply because it's not set up yet. We've got to give Nginx something to do.
Source Volumes
The containers can't see our source files by default. We need to explicitly tell the containers where the source code is. Docker-Compose gives us the volumes section for this purpose and more.
The first thing we'll do is start our volumes section:
  nginx:
    build:
      context: ./nginx
    volumes:
      - ../src:/var/www
Our volume lines are in the format of host:container, can be files or folders, and can be relative, absolute, or both. It's common practice to make the host path relative (because we don't know where it'll sit on the developer's filesystem) and the container path absolute (because it's a controlled environment).
Now, when we try docker-compose up, Nginx stays up! Let's go to localhost and see what we get.
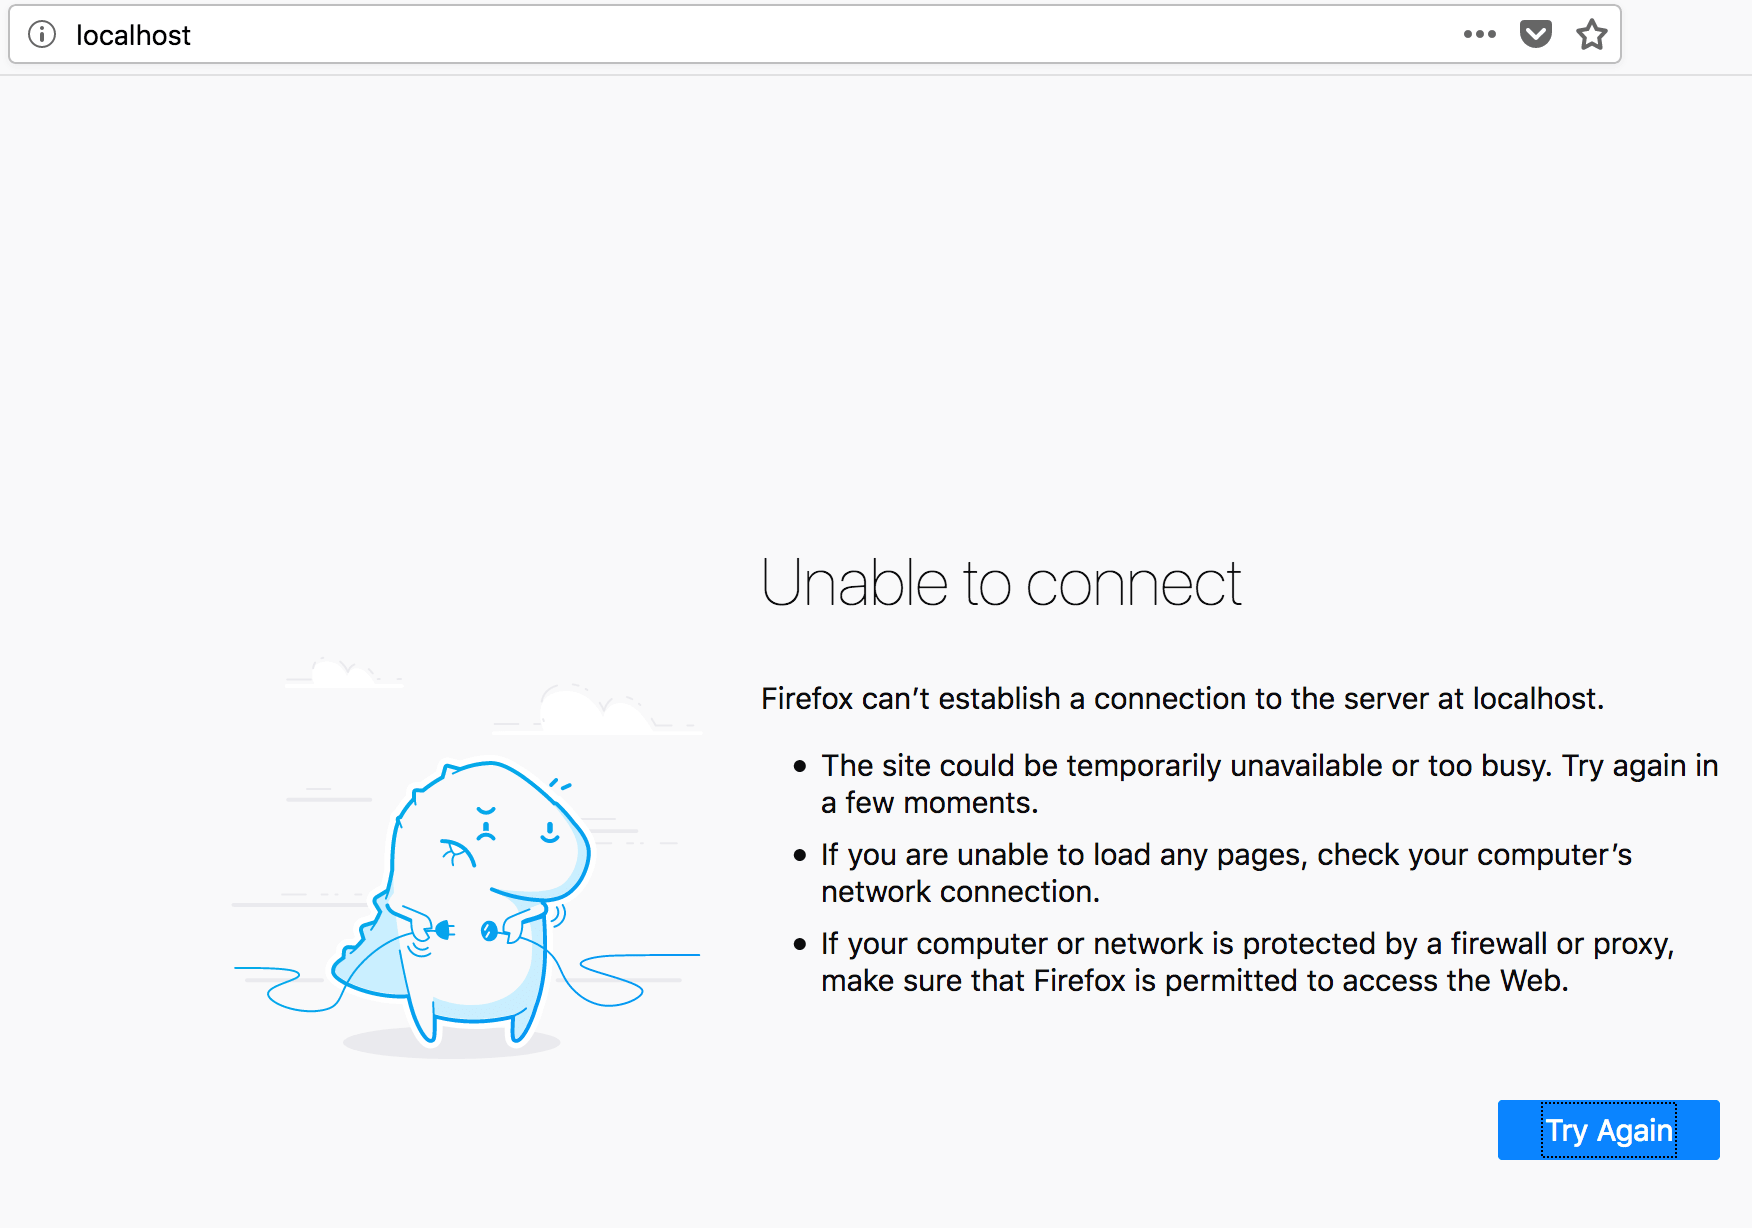
That's... not right...
Exposing Ports
Docker needs to tell the host what ports to use so that we can access our page in the browser. We do that with the ports line:
  nginx:
    build:
      context: ./nginx
    volumes:
      - ../src:/var/www
    ports:
      - "80:80"
      - "443:443"
The ports listings follow the same host:container format as the volumes, except that we need to explicitly tell Docker that the entries are strings (otherwise it tries to interpret them as numbers).
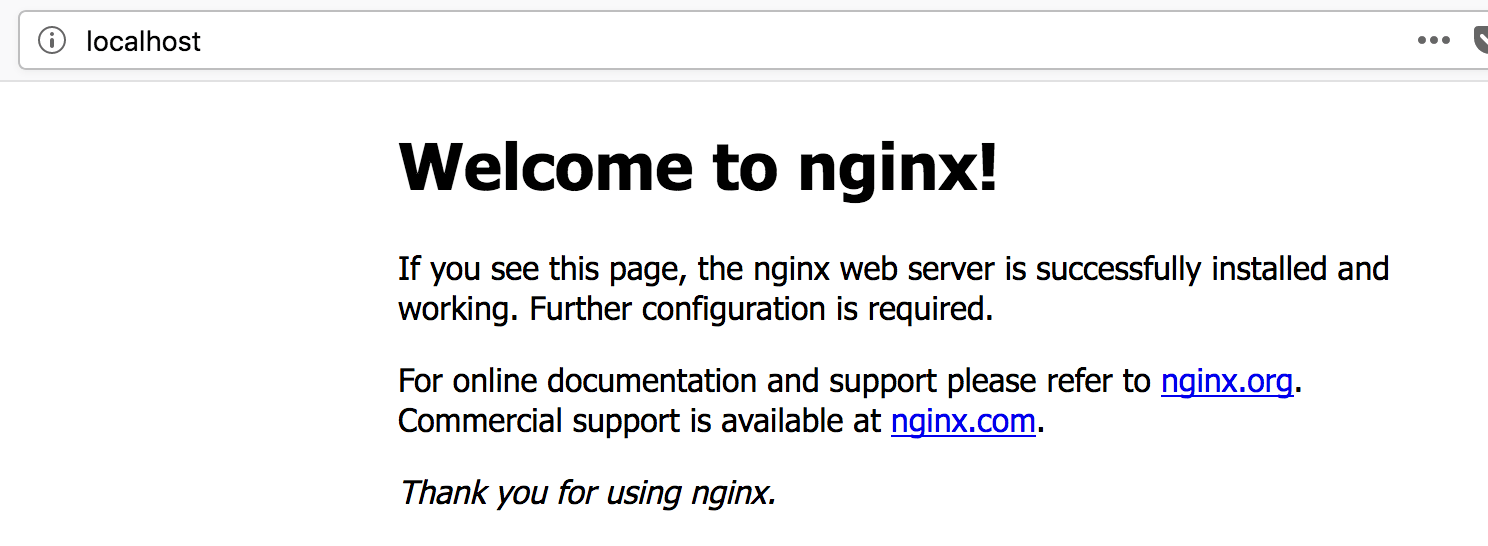
We're getting closer, though we're not quite there yet.
php-fpm
Nginx defaults to loading only HTML files. Now, that's not going to work for our setup. We need to be able to load PHP files, but Nginx also doesn't manage PHP processes. For that, we need php-fpm. We'll need to tweak a few configs and give Nginx new virtual host information.
First, we'll add some config files to our Nginx folder:
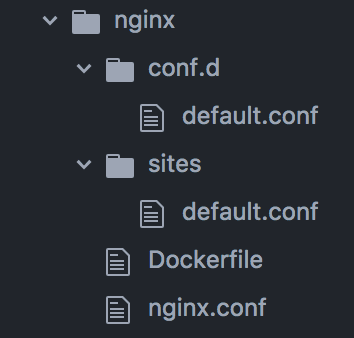
Since our php-fpm service is in its own container, we need to tell Nginx where to find it. Docker sets up some handy network configurations in our containers, so we can refer to other containers by the names we assigned them. We'll do this by adding the following to conf.d/default.conf:
upstream php-upstream {
    server php-fpm:9000;
}
Then, we'll grab ourselves a basic PHP host entry to use in sites/default.conf:
server {

    listen 80 default_server;
    listen [::]:80 default_server ipv6only=on;

    server_name localhost;
    root /var/www;
    index index.php index.html index.htm;

    location / {
         try_files $uri $uri/ /index.php$is_args$args;
    }

    location ~ \.php$ {
        try_files $uri /index.php =404;
        fastcgi_pass php-upstream;
        fastcgi_index index.php;
        fastcgi_buffers 16 16k;
        fastcgi_buffer_size 32k;
        fastcgi_param SCRIPT_FILENAME $document_root$fastcgi_script_name;
        #fixes timeouts
        fastcgi_read_timeout 600;
        include fastcgi_params;
    }

    location ~ /\.ht {
        deny all;
    }

    location /.well-known/acme-challenge/ {
        root /var/www/letsencrypt/;
        log_not_found off;
    }
}
Of particular interest here is fastcgi_pass php-upstream;. This line refers to the upstream reference we created in conf.d/default.conf.
Now, since our changes are a bit different from the default convention, we'll tweak the default nginx.conf file:
user  nginx;
worker_processes  4;
daemon off;

error_log  /var/log/nginx/error.log warn;
pid        /var/run/nginx.pid;

events {
    worker_connections  1024;
}

http {
    include       /etc/nginx/mime.types;
    default_type  application/octet-stream;

    access_log  /var/log/nginx/access.log;
    # Switch logging to console out to view via Docker
    #access_log /dev/stdout;
    #error_log /dev/stderr;

    sendfile        on;
    keepalive_timeout  65;

    include /etc/nginx/conf.d/*.conf;
    include /etc/nginx/sites-available/*.conf;
}
The most important things here are the include lines at the bottom, which point Nginx to our custom configurations, and the daemon off line. daemon off is the key to resolving the exited with status 0 issue, because it keeps Nginx running in the foreground.
Finally, we need to tell the container where to find our custom files. We'll again leverage the volumes section:
  nginx:
    build:
      context: ./nginx
    volumes:
      - ../src:/var/www
      - ./nginx/nginx.conf:/etc/nginx/nginx.conf
      - ./nginx/sites/:/etc/nginx/sites-available
      - ./nginx/conf.d/:/etc/nginx/conf.d
    depends_on:
      - php-fpm
The volumes entries are just like our source volume entry, and depends_on tells Docker that this service relies on the listed services, starting them first.
Now, we do another up and...

Yay!
The Final Touch: Revisiting The Database
Our original index.php doesn't actually use our database. Let's fix that, so we know we're fully working.
We'll add a quick little PDO Select statement and a loop to output a bit of data:
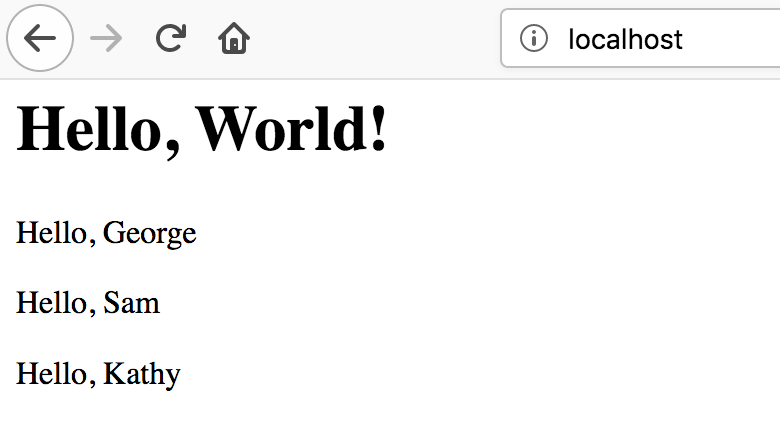
<?php $value = "World"; $db = new PDO('mysql:host=database;dbname=mydb;charset=utf8mb4', 'myuser', 'secret'); $databaseTest = ($db->query('SELECT * FROM dockerSample'))->fetchAll(PDO::FETCH_OBJ); ?> <html> <body> <h1>Hello, <?= $value ?>!</h1> <?php foreach($databaseTest as $row): ?> <p>Hello, <?= $row->name ?></p> <?php endforeach; ?> </body> </html> We'll also add a data file to our startup process and use the database image's special entrypoint folder as the volume destination in the docker-compose file:
database:
    build:
      context: ./database
    environment:
      - MYSQL_DATABASE=mydb
      - MYSQL_USER=myuser
      - MYSQL_PASSWORD=secret
      - MYSQL_ROOT_PASSWORD=docker
    volumes:
      - ./database/data.sql:/docker-entrypoint-initdb.d/data.sql
Finally, we need to install the PDO extension to our php-fpm service. We'll do that with the RUN command in the Dockerfile and the handy PHP extension installation script the upstream maintainers have so kindly provided us.
FROM php:fpm-alpine

RUN docker-php-ext-install pdo_mysql

CMD ["php-fpm"]

EXPOSE 9000
Now, when we run docker-compose up, Docker will import our data file into the database for us.
And now, for the grand finale!
Go Forth And Build!
This is just a very basic setup designed to get you going, but by going through the same processes described here, you can add any kind of services you want to your cluster. Don't be afraid to experiment!
TABLE OF CONTENTS
